Understanding how IBC totes are manufactured helps you make better buying decisions and appreciate why quality varies between manufacturers. The production process involves three parallel manufacturing streams — bottle, cage, and pallet — that converge in final assembly. Here's a detailed look at each stage.
Raw Material: HDPE Resin
The process begins with high-density polyethylene (HDPE) resin pellets. These arrive at the manufacturing plant in 2,000-pound supersacks or railcar-loaded silos. The specific grade of HDPE used for IBC bottles is a high-molecular-weight blow molding grade with particular properties: high stress crack resistance (essential for long-term chemical storage), good UV stability (often with added stabilizers), high impact strength even at low temperatures, FDA compliance for food-grade bottles (specific additive packages), and consistent melt flow index for process repeatability.
Different manufacturers use different resin suppliers and formulations, which contributes to quality variation in the finished product. Premium manufacturers use resins with higher stress crack resistance ratings, which directly correlates to longer bottle service life.
Step 1: Blow Molding the Bottle
The HDPE bottle is produced by extrusion blow molding — one of the largest-scale blow molding applications in the plastics industry. The process works as follows:
HDPE pellets are fed into an extruder — a heated barrel with a rotating screw — where they're melted at approximately 350-400 degrees Fahrenheit. The molten HDPE is extruded downward as a hollow tube (called a "parison") between the open halves of a large mold. The mold closes around the parison, and compressed air (typically 80-100 PSI) is blown into the tube, inflating it outward against the mold walls. Cooling water circulates through the mold (which is aluminum for thermal conductivity), solidifying the plastic in the shape of the bottle. The mold opens, the bottle is ejected, and flash (excess plastic) is trimmed.
The entire cycle takes 3-5 minutes for a 275-gallon bottle — remarkably fast given the size of the part. The resulting bottle weighs 48-65 pounds depending on wall thickness and manufacturer.
Step 2: Bottle Post-Processing
After molding, each bottle undergoes several additional steps. Flash removal where excess material at parting lines is trimmed either manually or by automated routers. Leak testing where every bottle is pressure-tested with air to verify no pinholes or thin spots exist in the walls. Weight verification ensures minimum wall thickness has been achieved (this correlates to UN certification). The top opening is drilled and threaded for the fill cap. And the bottom outlet hole is cut and threaded for the valve assembly.
Step 3: Steel Cage Fabrication
Simultaneously, the steel cage is being manufactured in a separate area of the facility. The process begins with galvanized steel tube (typically 25mm square tube, 1.5-2.0mm wall thickness) that is cut to length on automated saws. Tubes are then bent on CNC tube benders to create the cage sections. Sections are assembled in welding fixtures that ensure precise dimensional tolerance. Robotic or manual MIG welding joins all connections (typically 150-200 weld points per cage). After welding, any areas where galvanizing was burned away by welding heat are re-coated with zinc-rich paint or cold galvanizing compound.
The finished cage must pass dimensional inspection (ensuring the bottle will fit properly) and load testing (verifying it can support the stacking loads specified by UN testing).
Step 4: Pallet Construction
Depending on the manufacturer and model, the pallet is either steel (welded from galvanized steel plate and tube), plastic (injection molded from virgin or recycled HDPE/PP), or wood (assembled from hardwood boards per ISPM-15 standards for international shipping).
Steel and plastic pallets are more expensive but offer longer service life and better resistance to moisture damage. Wood pallets are cheaper but degrade faster, especially in wet environments.
Step 5: Assembly
The three components come together in the assembly area. The bottle is placed into the cage (which may need to be partially disassembled to allow insertion). The cage is then closed and secured around the bottle, and the assembly is bolted or clipped to the pallet. The valve is installed in the bottom outlet with a fresh gasket. The top cap with gasket is installed. And any labels, markings, or RFID tags are applied.
Step 6: Final Quality Control
Every assembled IBC undergoes a final quality control check before shipping. UN certification testing (performed on a sample basis) includes the drop test where a full IBC is dropped from 0.8-1.2 meters depending on packing group. The stacking test involves placing a maximum stack load on the IBC for 28 days. The hydraulic pressure test fills the IBC with water and pressurizes to 20-100 kPa depending on rating. And the leakproof test pressurizes to 20 kPa and checks for air leaks.
Production IBCs (not the test samples) are verified for weight, dimensional accuracy, valve function, cap seal, UN marking legibility, and overall cosmetic appearance.
Quality Variation Between Manufacturers
Not all IBCs are equal. Key quality differentiators include wall thickness where premium manufacturers exceed minimum UN requirements by 15-20%, weld quality where robotically-welded cages are generally more consistent than manual, resin grade where higher-stress-crack-resistance HDPE lasts longer, galvanizing quality where hot-dip galvanized steel outlasts electroplated in corrosive environments, and assembly precision where tighter bottle-to-cage fit prevents movement and wear.
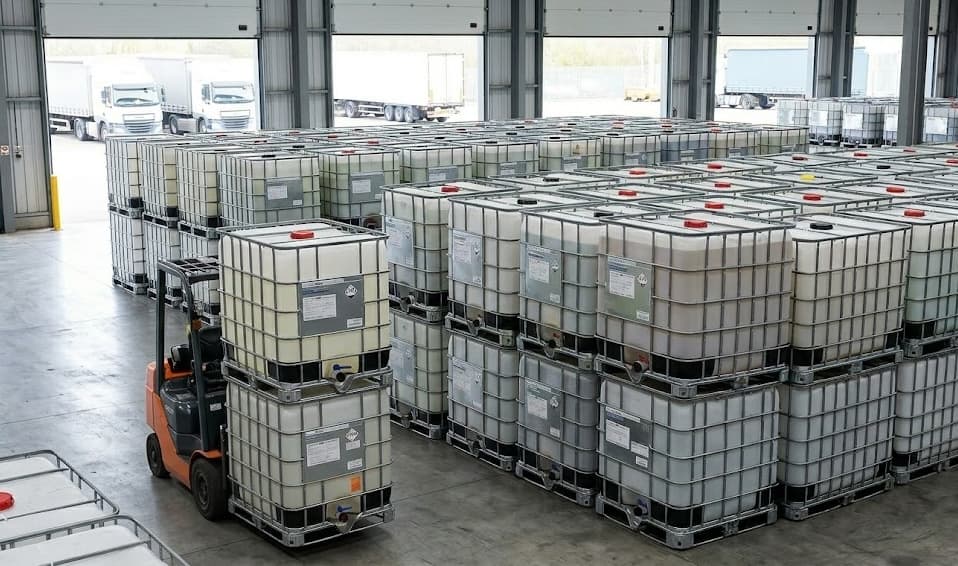
When buying used IBCs from IBC Recycling Detroit, we evaluate all these factors as part of our grading process. Not all used totes are worth reconditioning — we select only those from reputable manufacturers with quality-first construction.